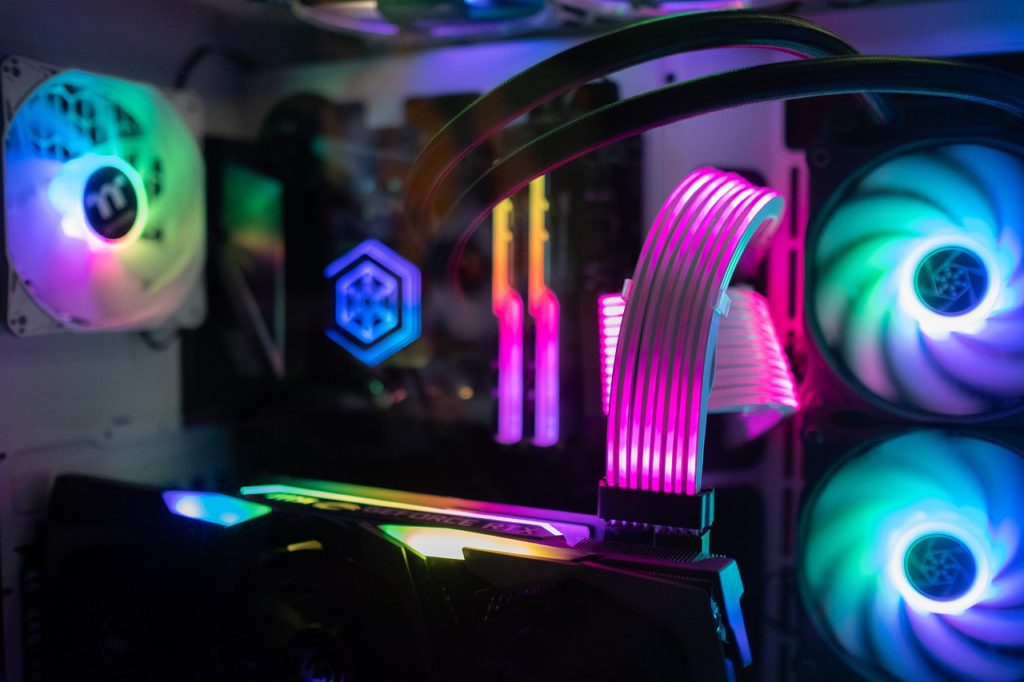
This Christmas, I had the opportunity to build my own gaming PC and I really enjoyed the whole experience, from budgeting, researching, ordering parts, building, troubleshooting to getting the PC up and running, I learned a lot and below is a repot.
Most memorable experience: I liked building, troubleshooting, then waiting in suspense as I prayed that it would boot up on the screen. When it finally booted up, it was a joyful experience.
Least memorable experience: I would say that looking for the parts is probably one of the least exciting steps though when you actually buy the parts, it gets a lot more exciting.
Purpose:
To have a better gaming experience
To also replace my old existing computer with a faster one
How to select hardware:
Budget: ~ $900
Inspired by a YouTube video “BEST $700 Streaming/Gaming PC [Build Tutorial, Benchmarks]” by Roo Tech
Hardware List:
CPU: i5-10400F: $173.11
CPU Cooler: Scythe Kotetsu Mark 2: $42.99
Motherboard*: MSI MAG B560M BAZOOKA: $121.72
RAM: XPG Z1 DDR4 3000MHz (PC4 24000) 16GB: $52.99
GPU: ASUS TUF Gaming GeForce GTX 1650 OC Edition: $375
Case: DEEPCOOL MACUBE 110 Micro ATX Case with Full-Size Magnetic Tempered Glass Removable HDD Cage and Built-in Graphics Card Holder: $63.74
Power Supply: EVGA 100-BR-0450-K1 450 BR, 80+ BRONZE 450W: $34.99
Case Fans: GIM KB-24 RGB Case Fans, 3 Pack 120mm Quiet Computer Cooling PC Fans, Music Rhythm 5V ARGB Addressable Motherboard SYNC/RC Controller, Colorful Cooler Speed Adjustable with Fan Control Hub: $20.28
SSD: SAMSUNG (MZ-V7E500BW) 970 EVO SSD 500GB – M.2 NVMe Interface Internal Solid State Drive with V-NAND Technology: $165.99
HDD**: Western Digital 1TB WD Blue PC Hard Drive HDD – 7200 RPM, SATA 6 Gb/s, 64 MB Cache, 3.5″ – WD10EZEX: $39.99
Antistatic Wristband****: VASTAR ESD Anti-Static Wrist Strap: $5.77
Flash Drive*****: SamData USB Flash Drive 8GB: $4.99
WiFi Card***: TP-Link AC1200 PCIe WiFi Card(Archer T4E)- 2.4G/5G Dual Band Wireless PCI Express Adapter, Low Profile, Long Range Beamforming, Heat Sink Technology, Supports Windows 10/8.1/8/7/XP: $24.99
*: Had to adjust because of stock
**: Decided to add because having an extra Hard Drive would be useful
***: The motherboard came with an ethernet functionality but did not come with WiFi functionality and so we bought this card in order to allow this computer to run on WiFi.
****: Decided to buy antistatic wristband in order to make sure that pc parts weren’t killed by static charge during the build process
*****: Used to download windows from old PC then put into new PC in order to install operating system
Total Cost: $1073.56
Time on this project: ~ 12 Hours
Researching: Looked for computers that looked physically appealing, could run games well, and that also fit in the budget ~ 3 hours
Ordering: Found a video and picked out all the parts linked in the description with the exception of the motherboard and the HDD. The motherboard changed from the MSI B460 Bazooka to the MSI B560 Bazooka due to low stock. The HDD was a decision made by me in order to ensure I had enough storage ~ 1 Hour
Assembly: took 4.5 hours, followed video in order to do so
Troubleshooting: ~ 3.5 hours
Assembly Procedure:
Open the case
Install power supply in case
Take out motherboard and also take out CPU
Place CPU in motherboard with caution in order to avoid breaking the pins
Unscrew the covering to the SSD and place SSD in
Insert RAM (wait for click)
Install CPU cooler
Install I/O shield onto case
Install Motherboard into the case and make sure to align it with the I/O shield
Hook power supply, front I/O cables, USB cable, and front panel connectors up to the motherboard
Install RGB fans and also hook them up to the power hub
Install the GPU
Hook GPU up to power
Close case
Installed windows onto an external flash drive from old laptop
Took flash drive and plugged it into new PC
Set up a monitor, mouse, and keyboard for testing
Turn on PC for testing
Troubleshooting:
DRAM and CPU lights blinking orange and red (fans seemed slow during this)
Spent 30 minutes looking around case and asking friends
Clicked RAM in more and resolved issue
DRAM light still was a static orange
Made sure all cables were hooked up properly, pressed it in with more force into the motherboard
Issue was resolved
Tried to hook pc up to monitor but wouldn’t display or boot up
Consulted friends and their parents (who were electrical engineers and had experience)
Found that I had plugged the HDMI into the wrong HDMI port (had to plug it into the GPU HDMI port)
PC BOOTED UP!
After Troubleshooting:
Hard Drive Installation
WiFi Card Installation
Windows 10 purchase/activation